
I was so excited about my new office and that it was completed so quickly that I didn't have an opportunity to do an update to post here as I went along.
Let's do that now!
As you know, I like lists. Ok, let's be honest - I love lists. I wrote down all the steps that will be needed to complete the project. And at the bottom, I added what would need to be purchased.

Miss Ginger Kitty says, "Get goin' mamma!"
And here is one of the "Before" pictures of where this whole thing started:

The "Before" picture in all it's glory!
I brought the antique secretary from the master bedroom into the spare bedroom to use as my temporary office. I didn't want to use my craft studio as my office for a couple of reasons. First, I want to keep my business separate from my craft studio (glitter has a tendency to get EVERYWHERE!). Second, my craft studio is in the basement and I really didn't want to go downstairs to work (no windows and the bathroom is way too far away on the main floor).
The bench from the bedroom is obviously not the softest so I used a cushion from my old craft room. It was better but not pretty to look at!

The closet without the doors. Getting ready to clear it all out!
After clearing out my temporary desk and removing the doors, we cleared out the closet.
I'm sure you may be wondering, "Why do they own so many coats? They live in Tennessee for cryin' out loud!" Yep, we have coats. Being a transplant from Maine, we had tons of coats for every condition. Not knowing what we would need relocating to another area, we just brought them with us. We said that whatever has not been used in two seasons, it was going. Anyway, back to the project.

All clear!
Now the fun part - DEMO! I totally think of Chip from Fixer Upper when I have to do any demo now.

Demo!
We removed the wall area above and to each side that surrounded the closet doors. We had to keep the small header at the top because that part is load bearing. I was hoping to have the entire ceiling flush with no interruptions but it didn't work out that way. It's just a minor thing anyway so it wasn't any sort of deal breaker or anything.
Also, electric outlets have been installed as well. Two outlets at the desk top (did you see the special on on the upper right with the USB ports!!), one outlet underneath the desk for my laptop, and one that will be inside the lower left cabinet for my printer.
Options for the desk top
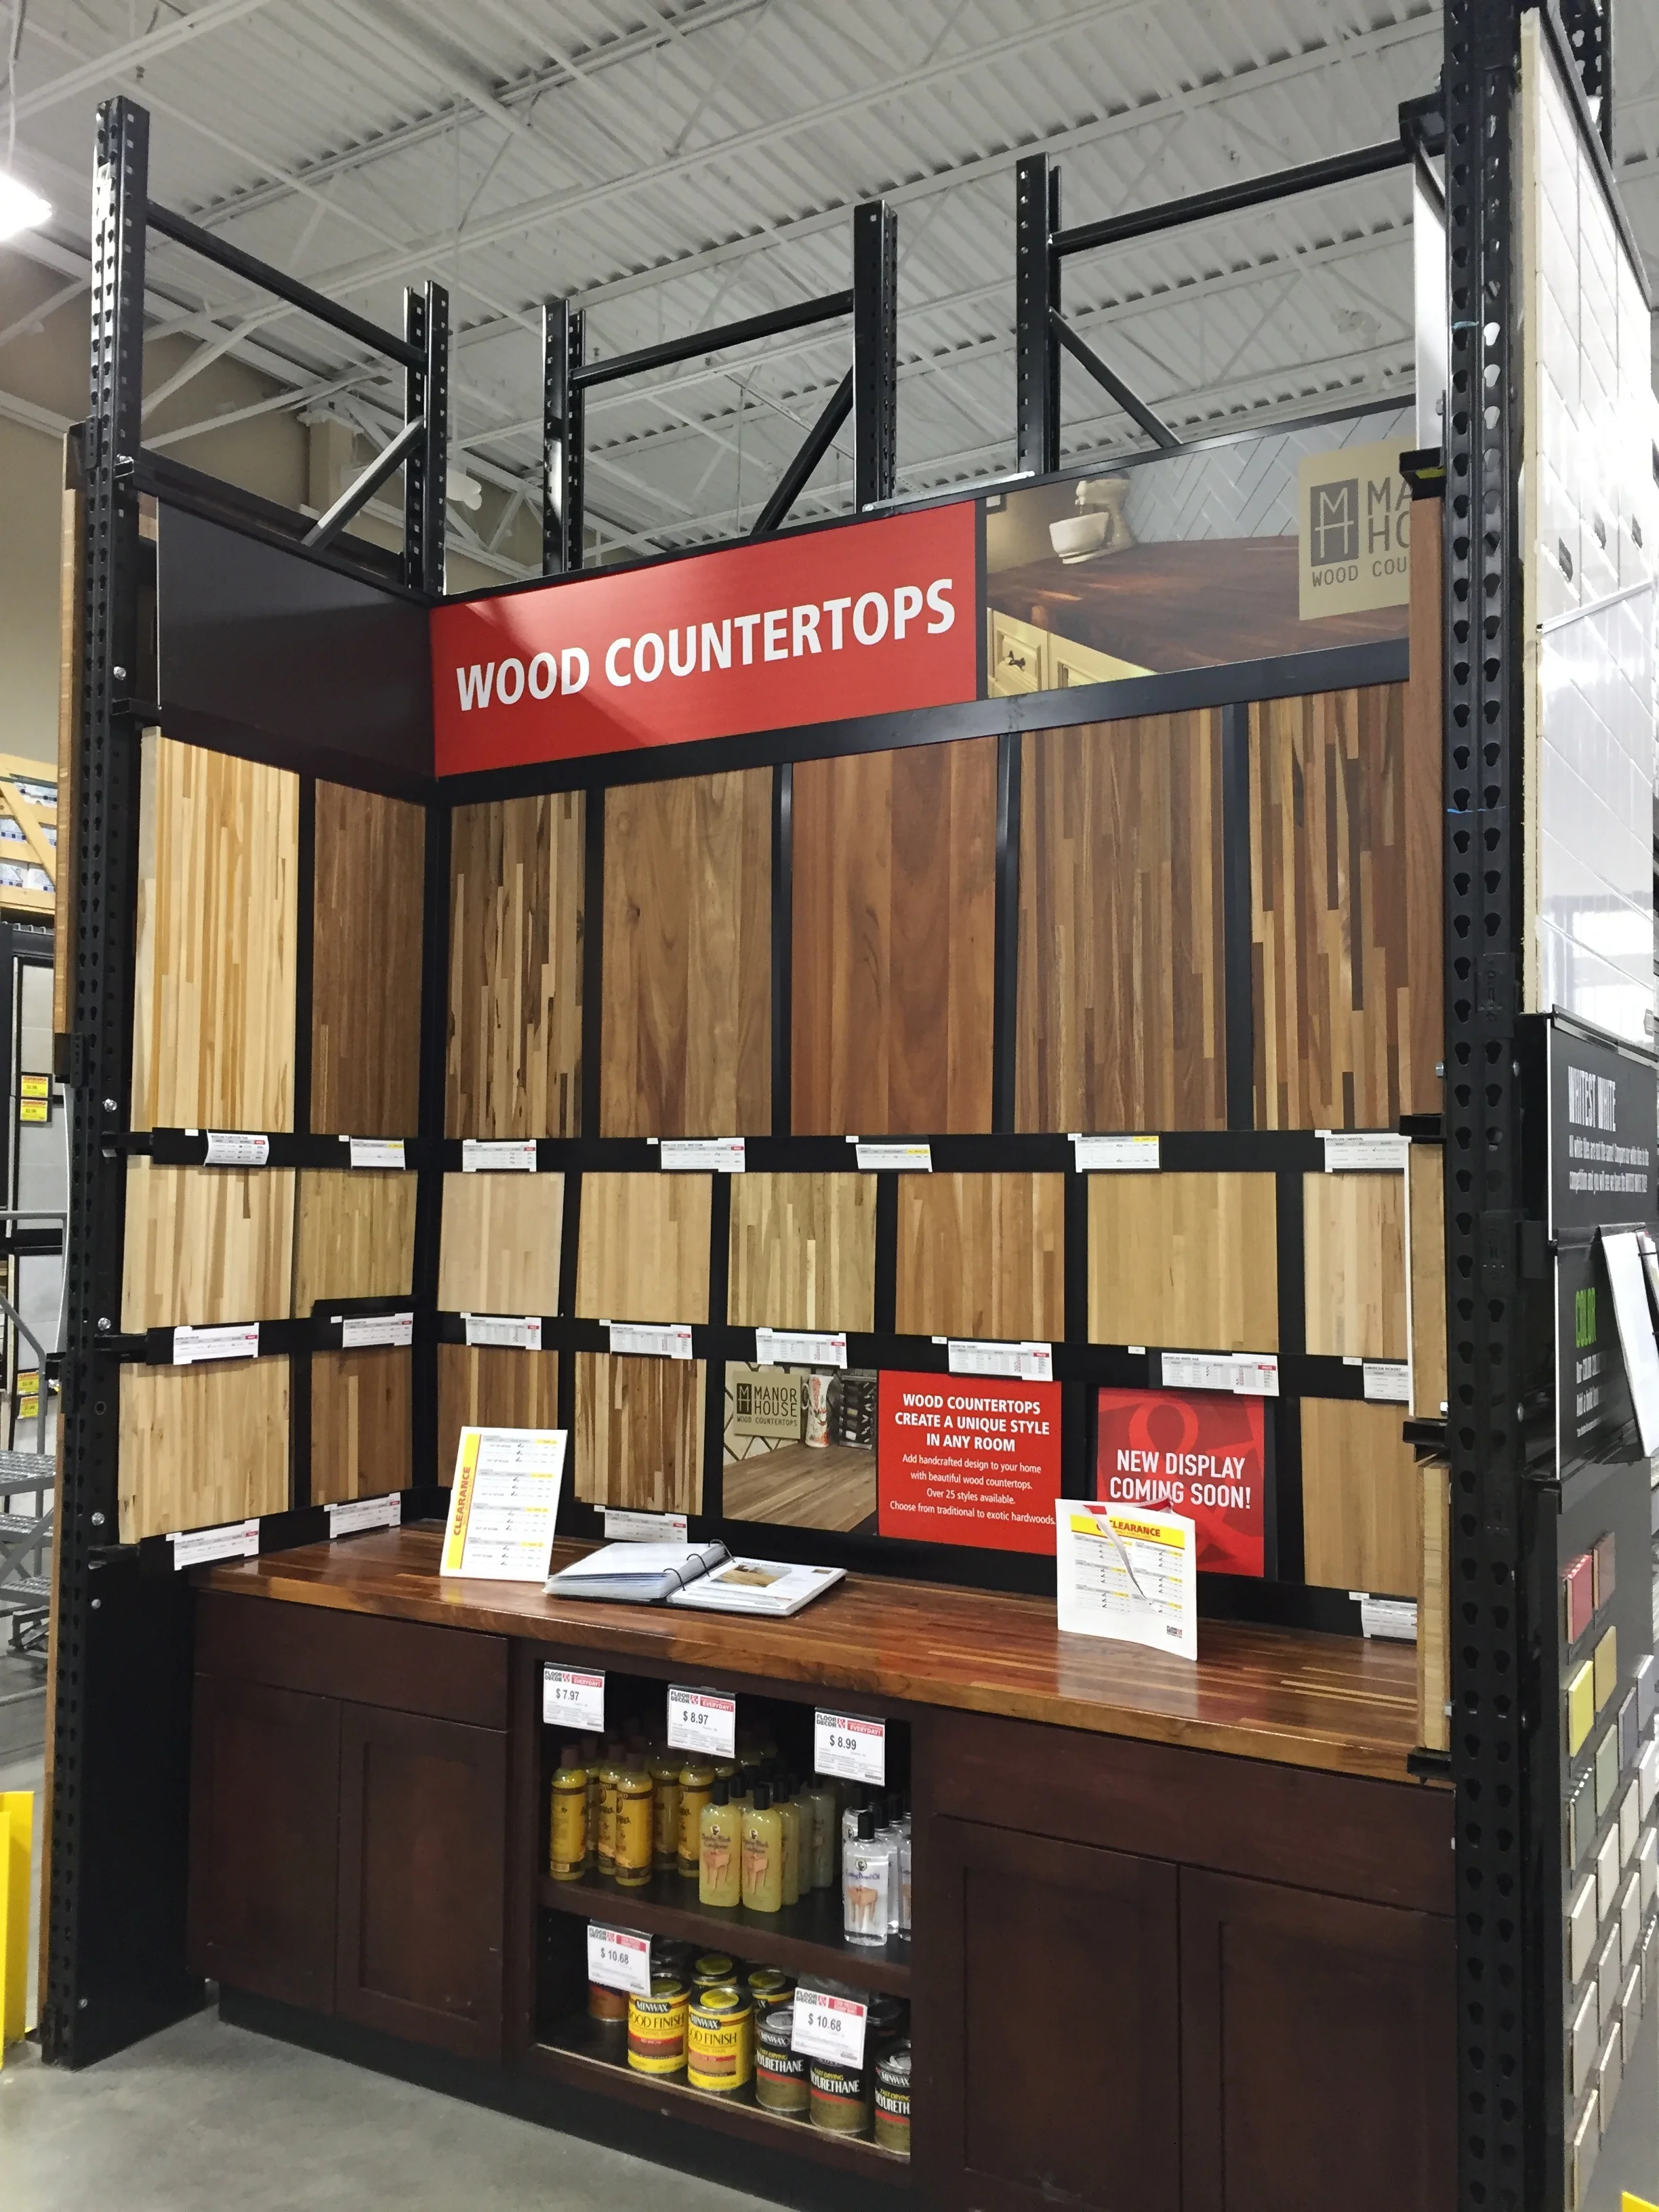
Since the cabinets were already purchased, the next big thing was the desk top. I really wanted a butcher block top so we went to one of our favorite stores. Floor & Decor rocks! Click on the link to check them out.

Sanded and ready for staining

Stained and ready for the top coat
Once the walls were mudded/sanded then painted, we were ready to install the upper cabinets.
Ok, that's Part 1. Stay tuned for Part 2 and what we did next.