
Always losing your remote controls? Want an easy DIY project to corral all those remotes?
Follow along as you learn how to make your own Remote Control Holder!
To go along with this week’s Decluttering & Organizing topic of The Entertainment Center, I was looking up entertainment center organization on Pinterest and came across this picture courtesy of Apartment Therapy:
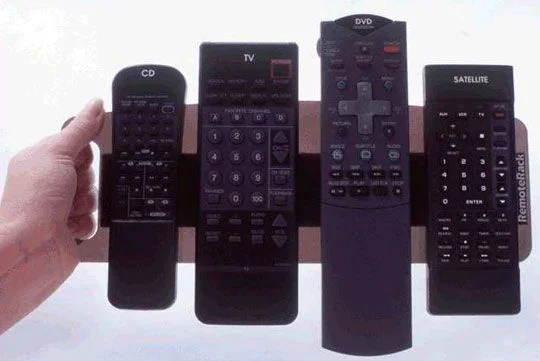
First I had an A-ha moment. What a great idea! Then I had the thought, “Hey! I can make that!”
Now, to all of us who have that thought then don’t follow through, it’s best to just go buy a holder. Here’s an affiliate link to one on Amazon that is available for two remotes or three remotes:

Here’s a quick link to the affiliate item shown above: https://amzn.to/2T1fTGO
BUT…. If you are handy dandy, stay tuned! This project is so easy peasy and takes less than 15 minutes if you have all the supplies.
So follow along!
SUPPLIES:
Board - Needs to be long/wide enough to hold all your remotes
Hole Drill Bit/Drill (Optional) - Only if you want a hole on one end
Velcro (Wide width) - Needs to be the length of your board
Staple Gun/Staples
Scissors - To cut velcro to size (not shown)

Step 1
Drill a hole in one end (if desired)
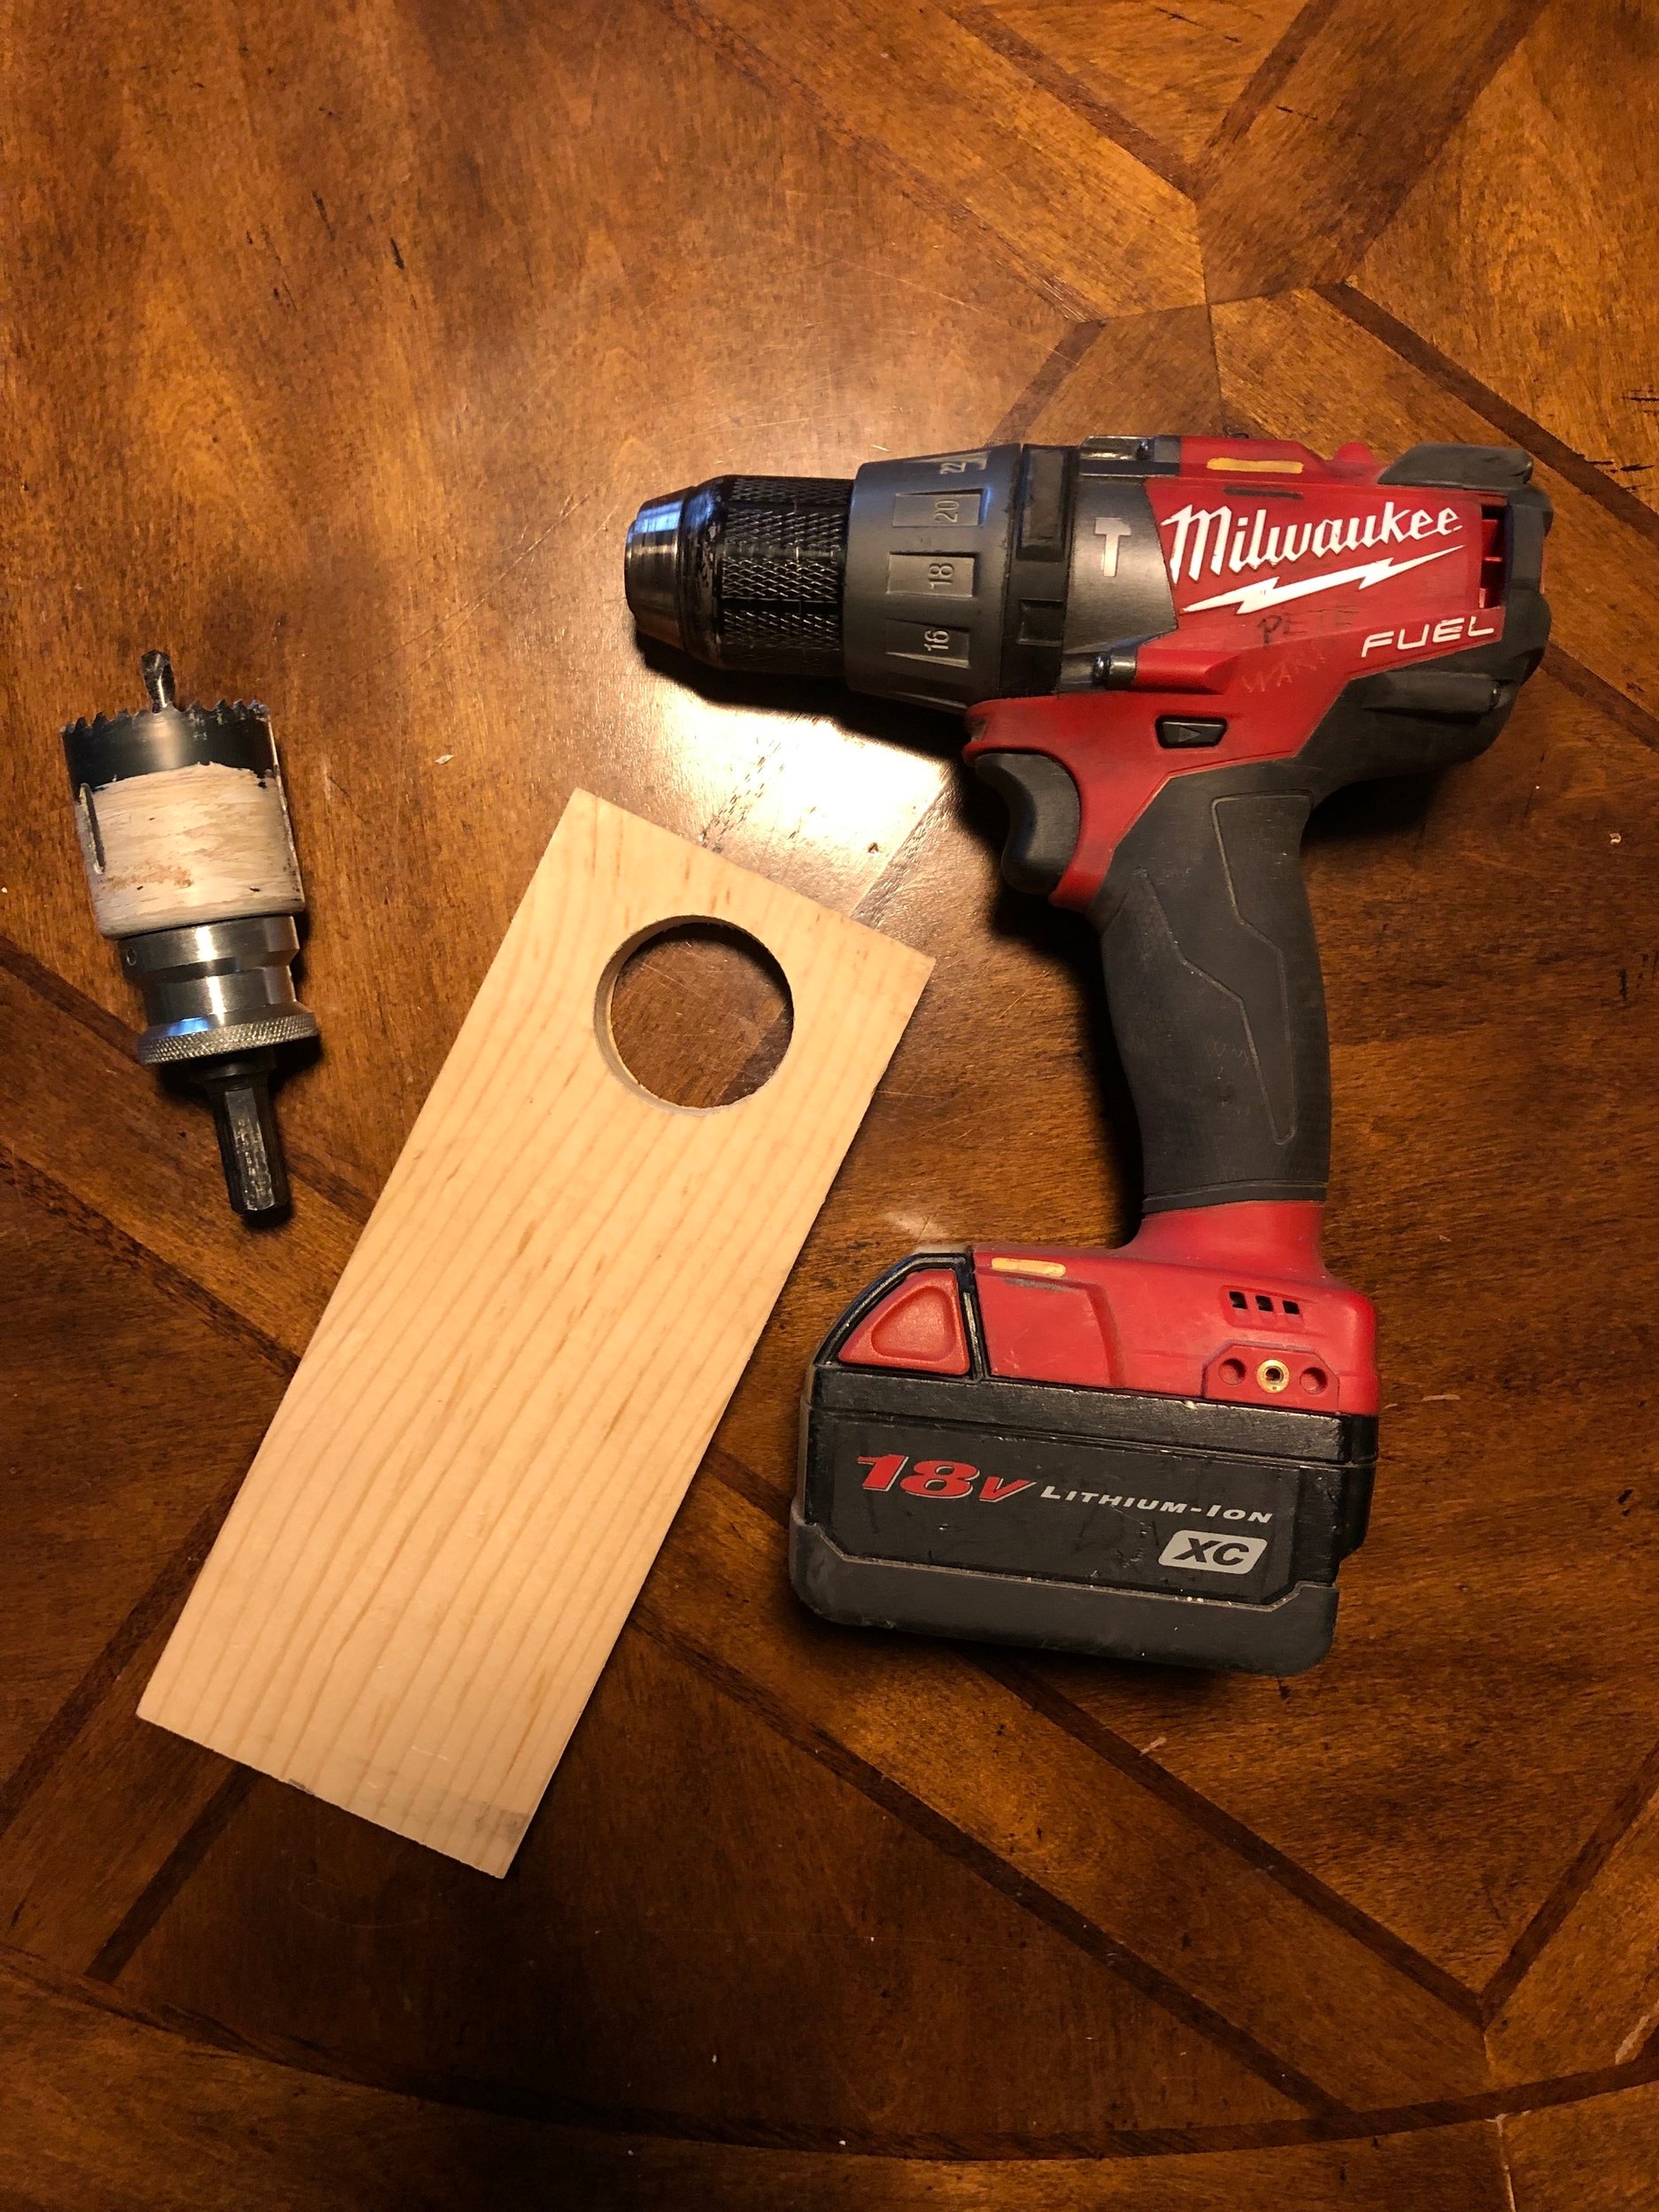
Note: In the picture above, I show the hole already drilled using the hammer drill and a hole cutter attachment. I just eyed it to get it in the center but feel free to measure for the center if you want it as accurate as possible.
Step 2
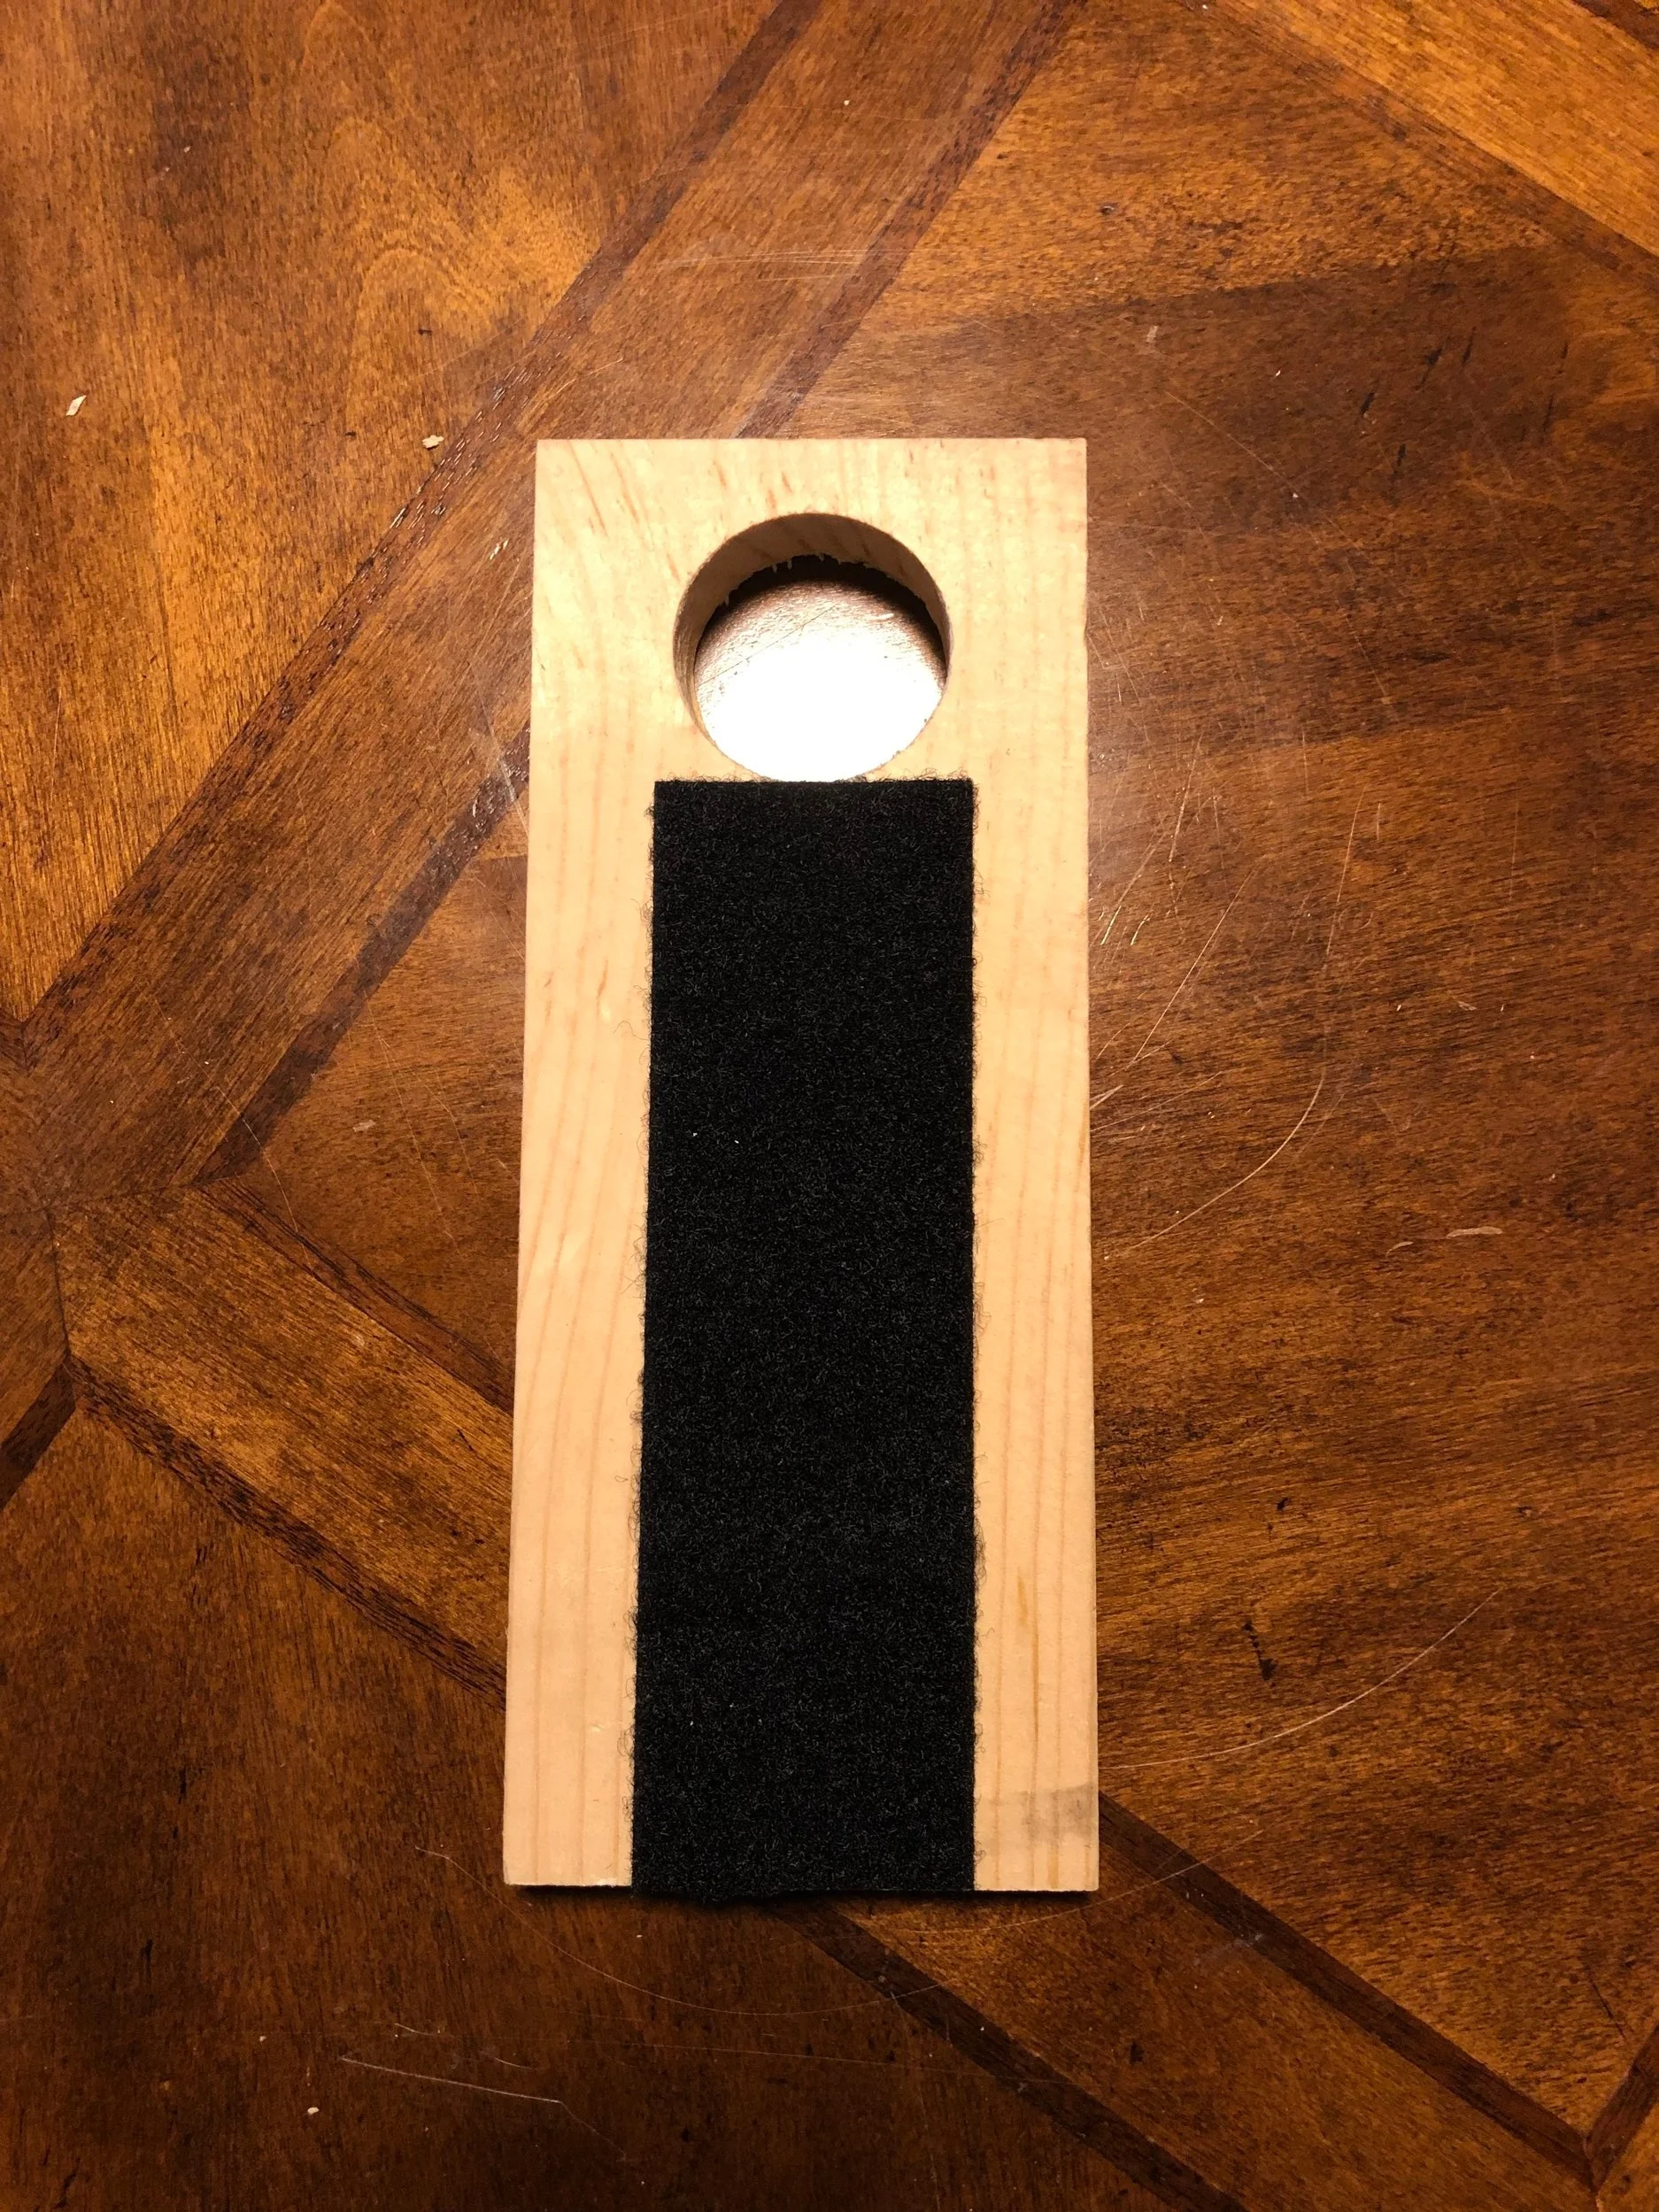
Cut the velcro to size

Step 3a
Attach one side of the Velcro to the board
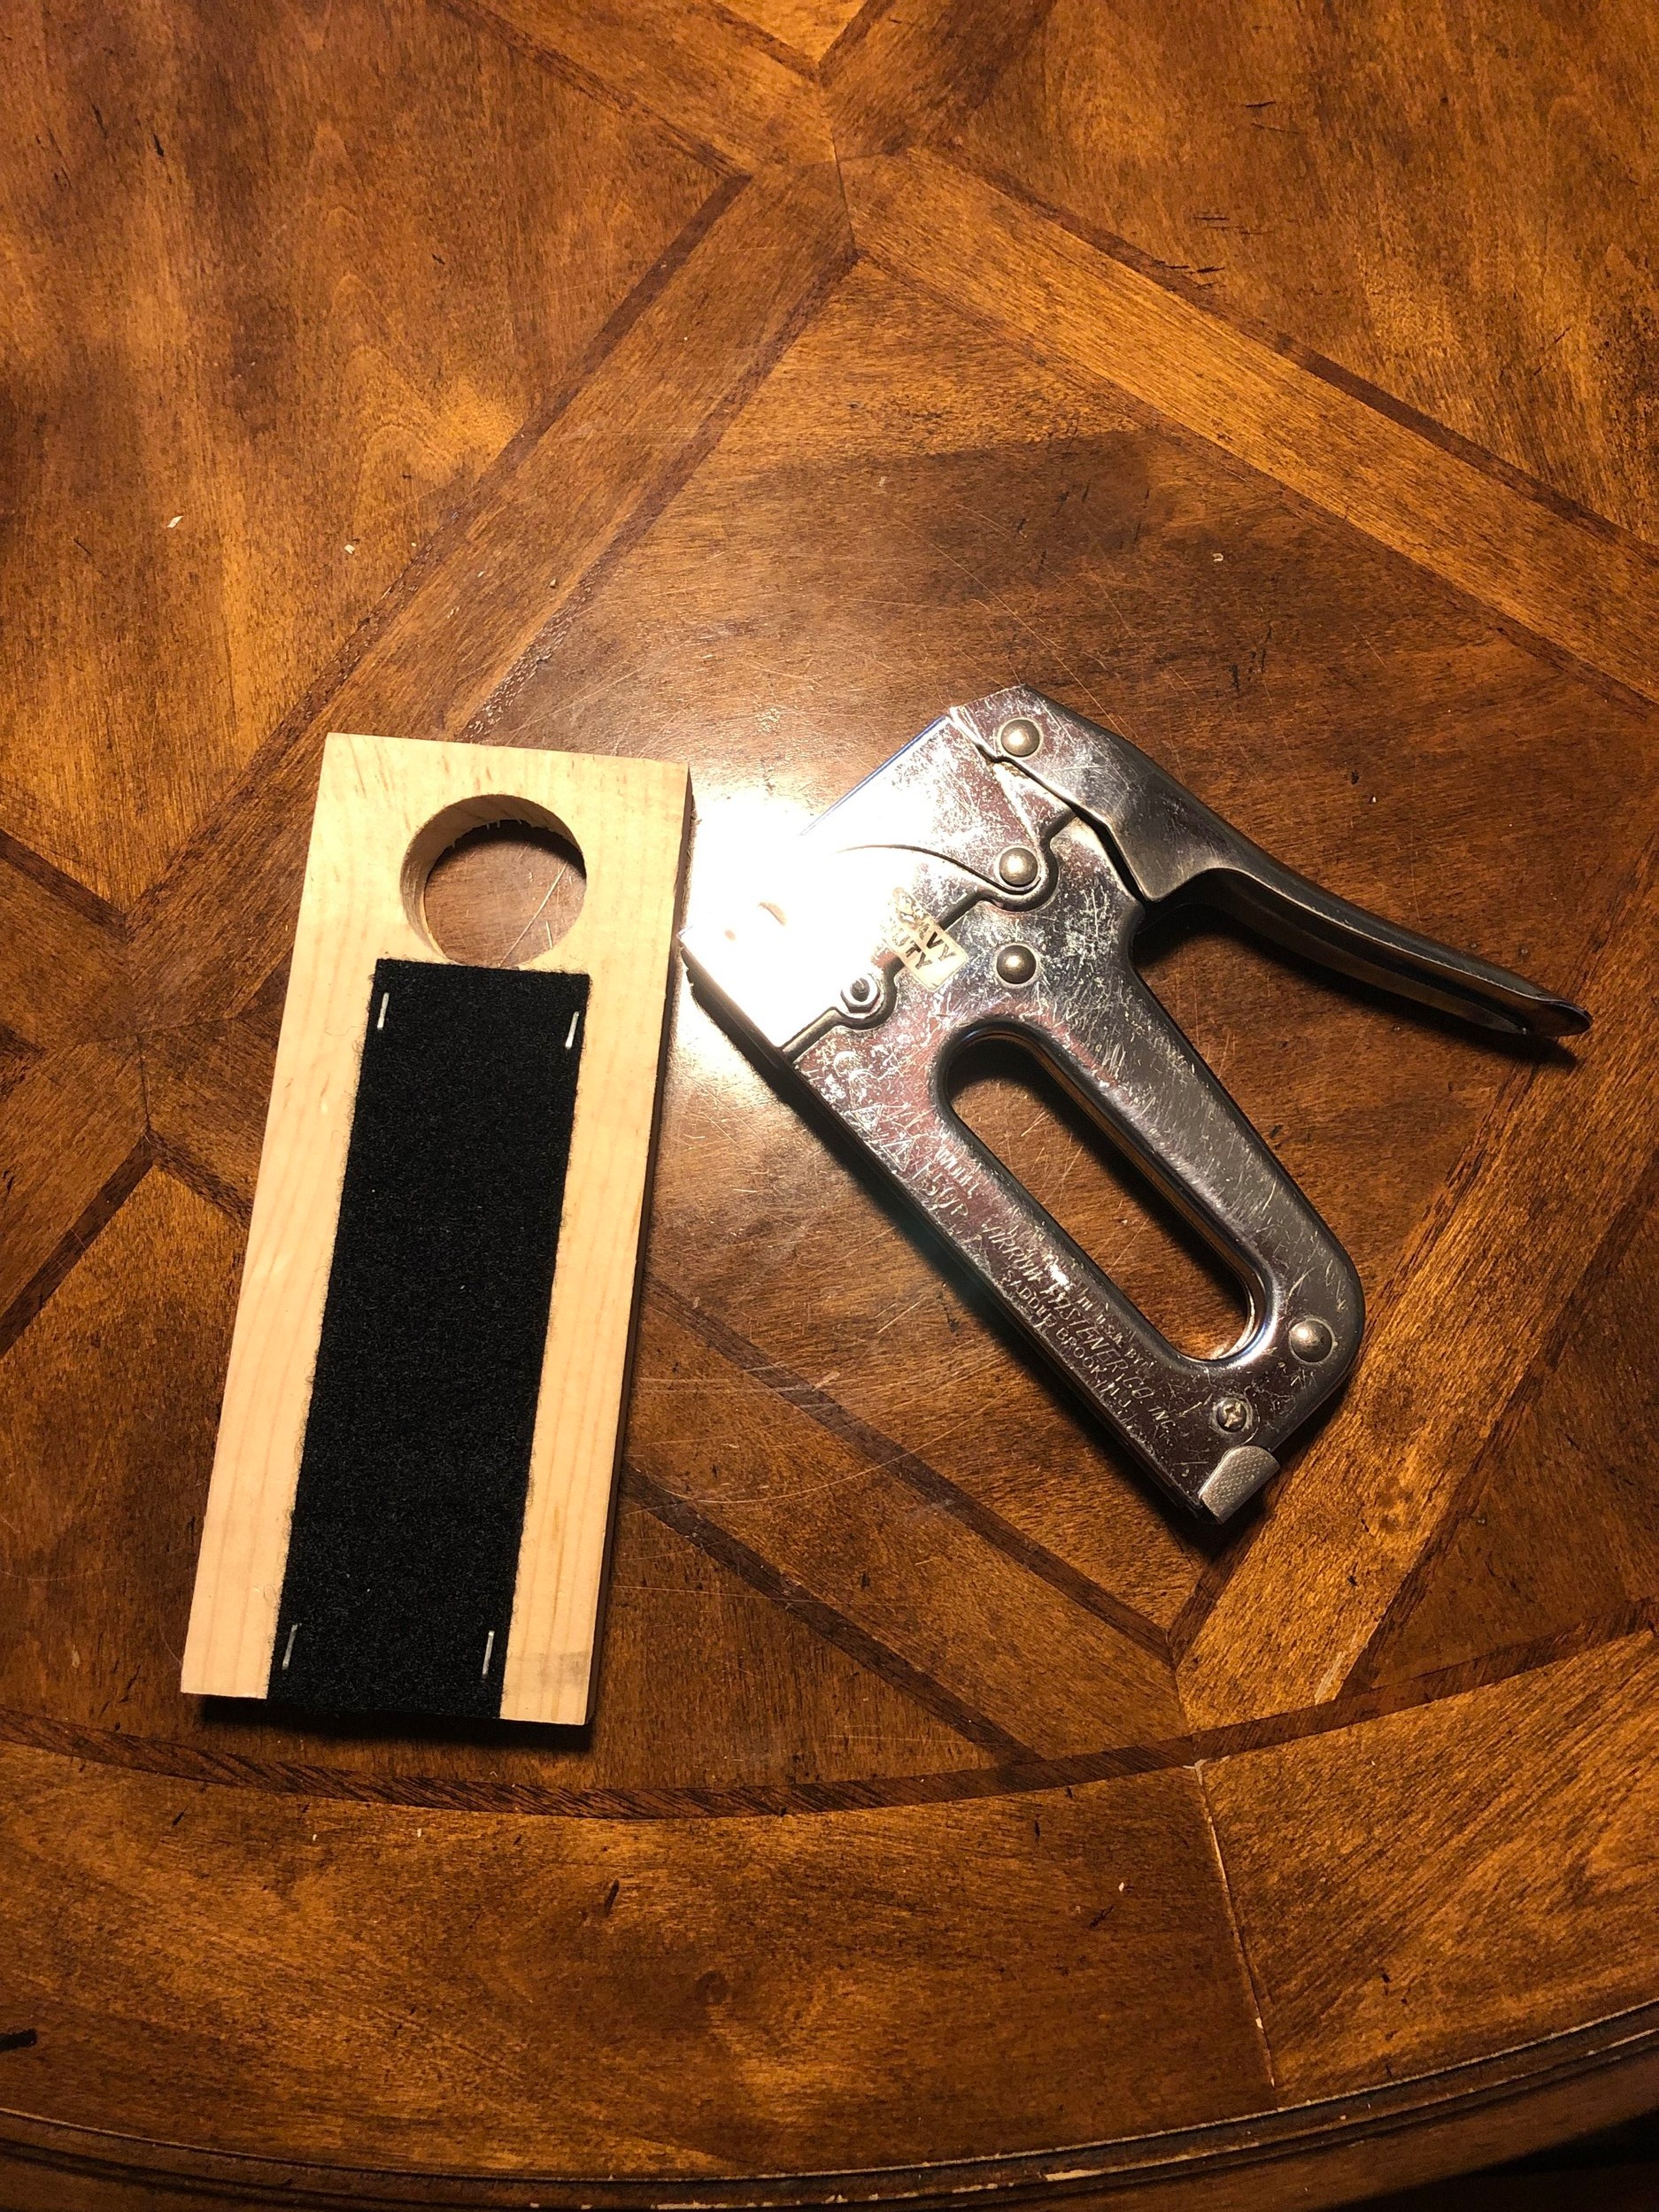
Step 3b
Staple Velcro in place
Note: Even though the Velcro had an adhesive back, I added staples in each corner to further reinforce it to the board so it will not lift up when removing remotes.
Step 4a
Cut the opposite Velcro to fit the back of the remotes.
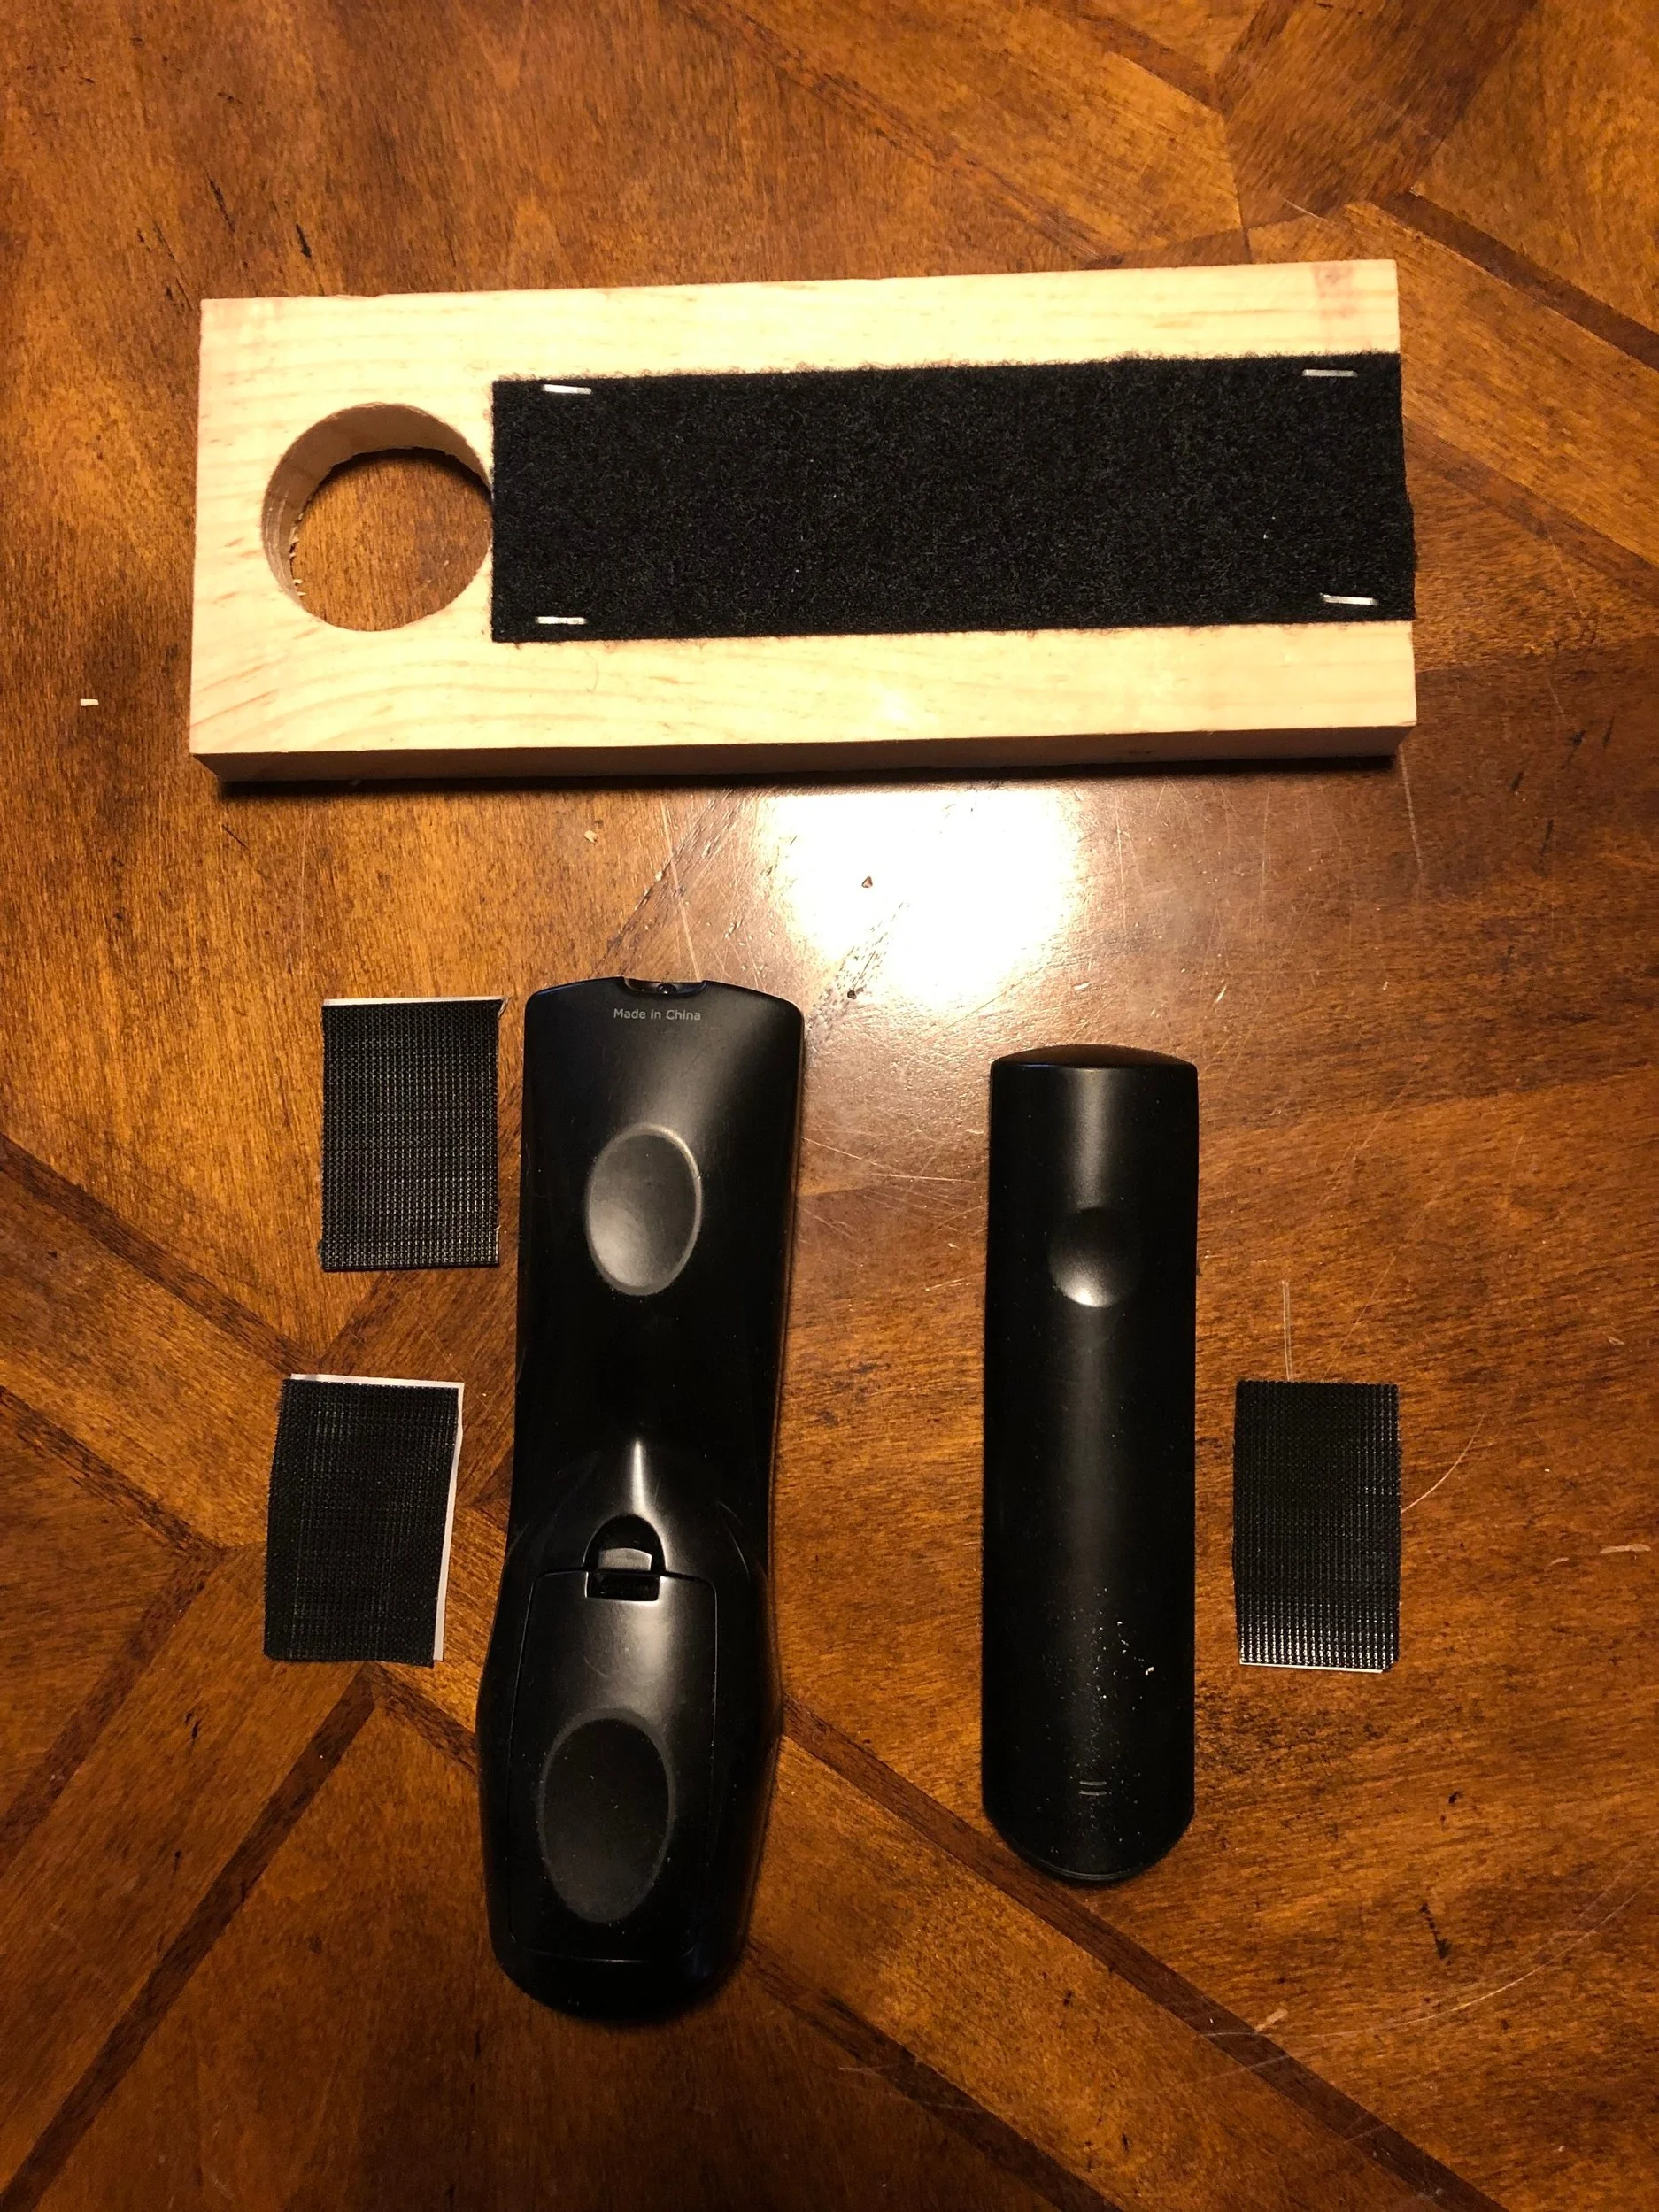
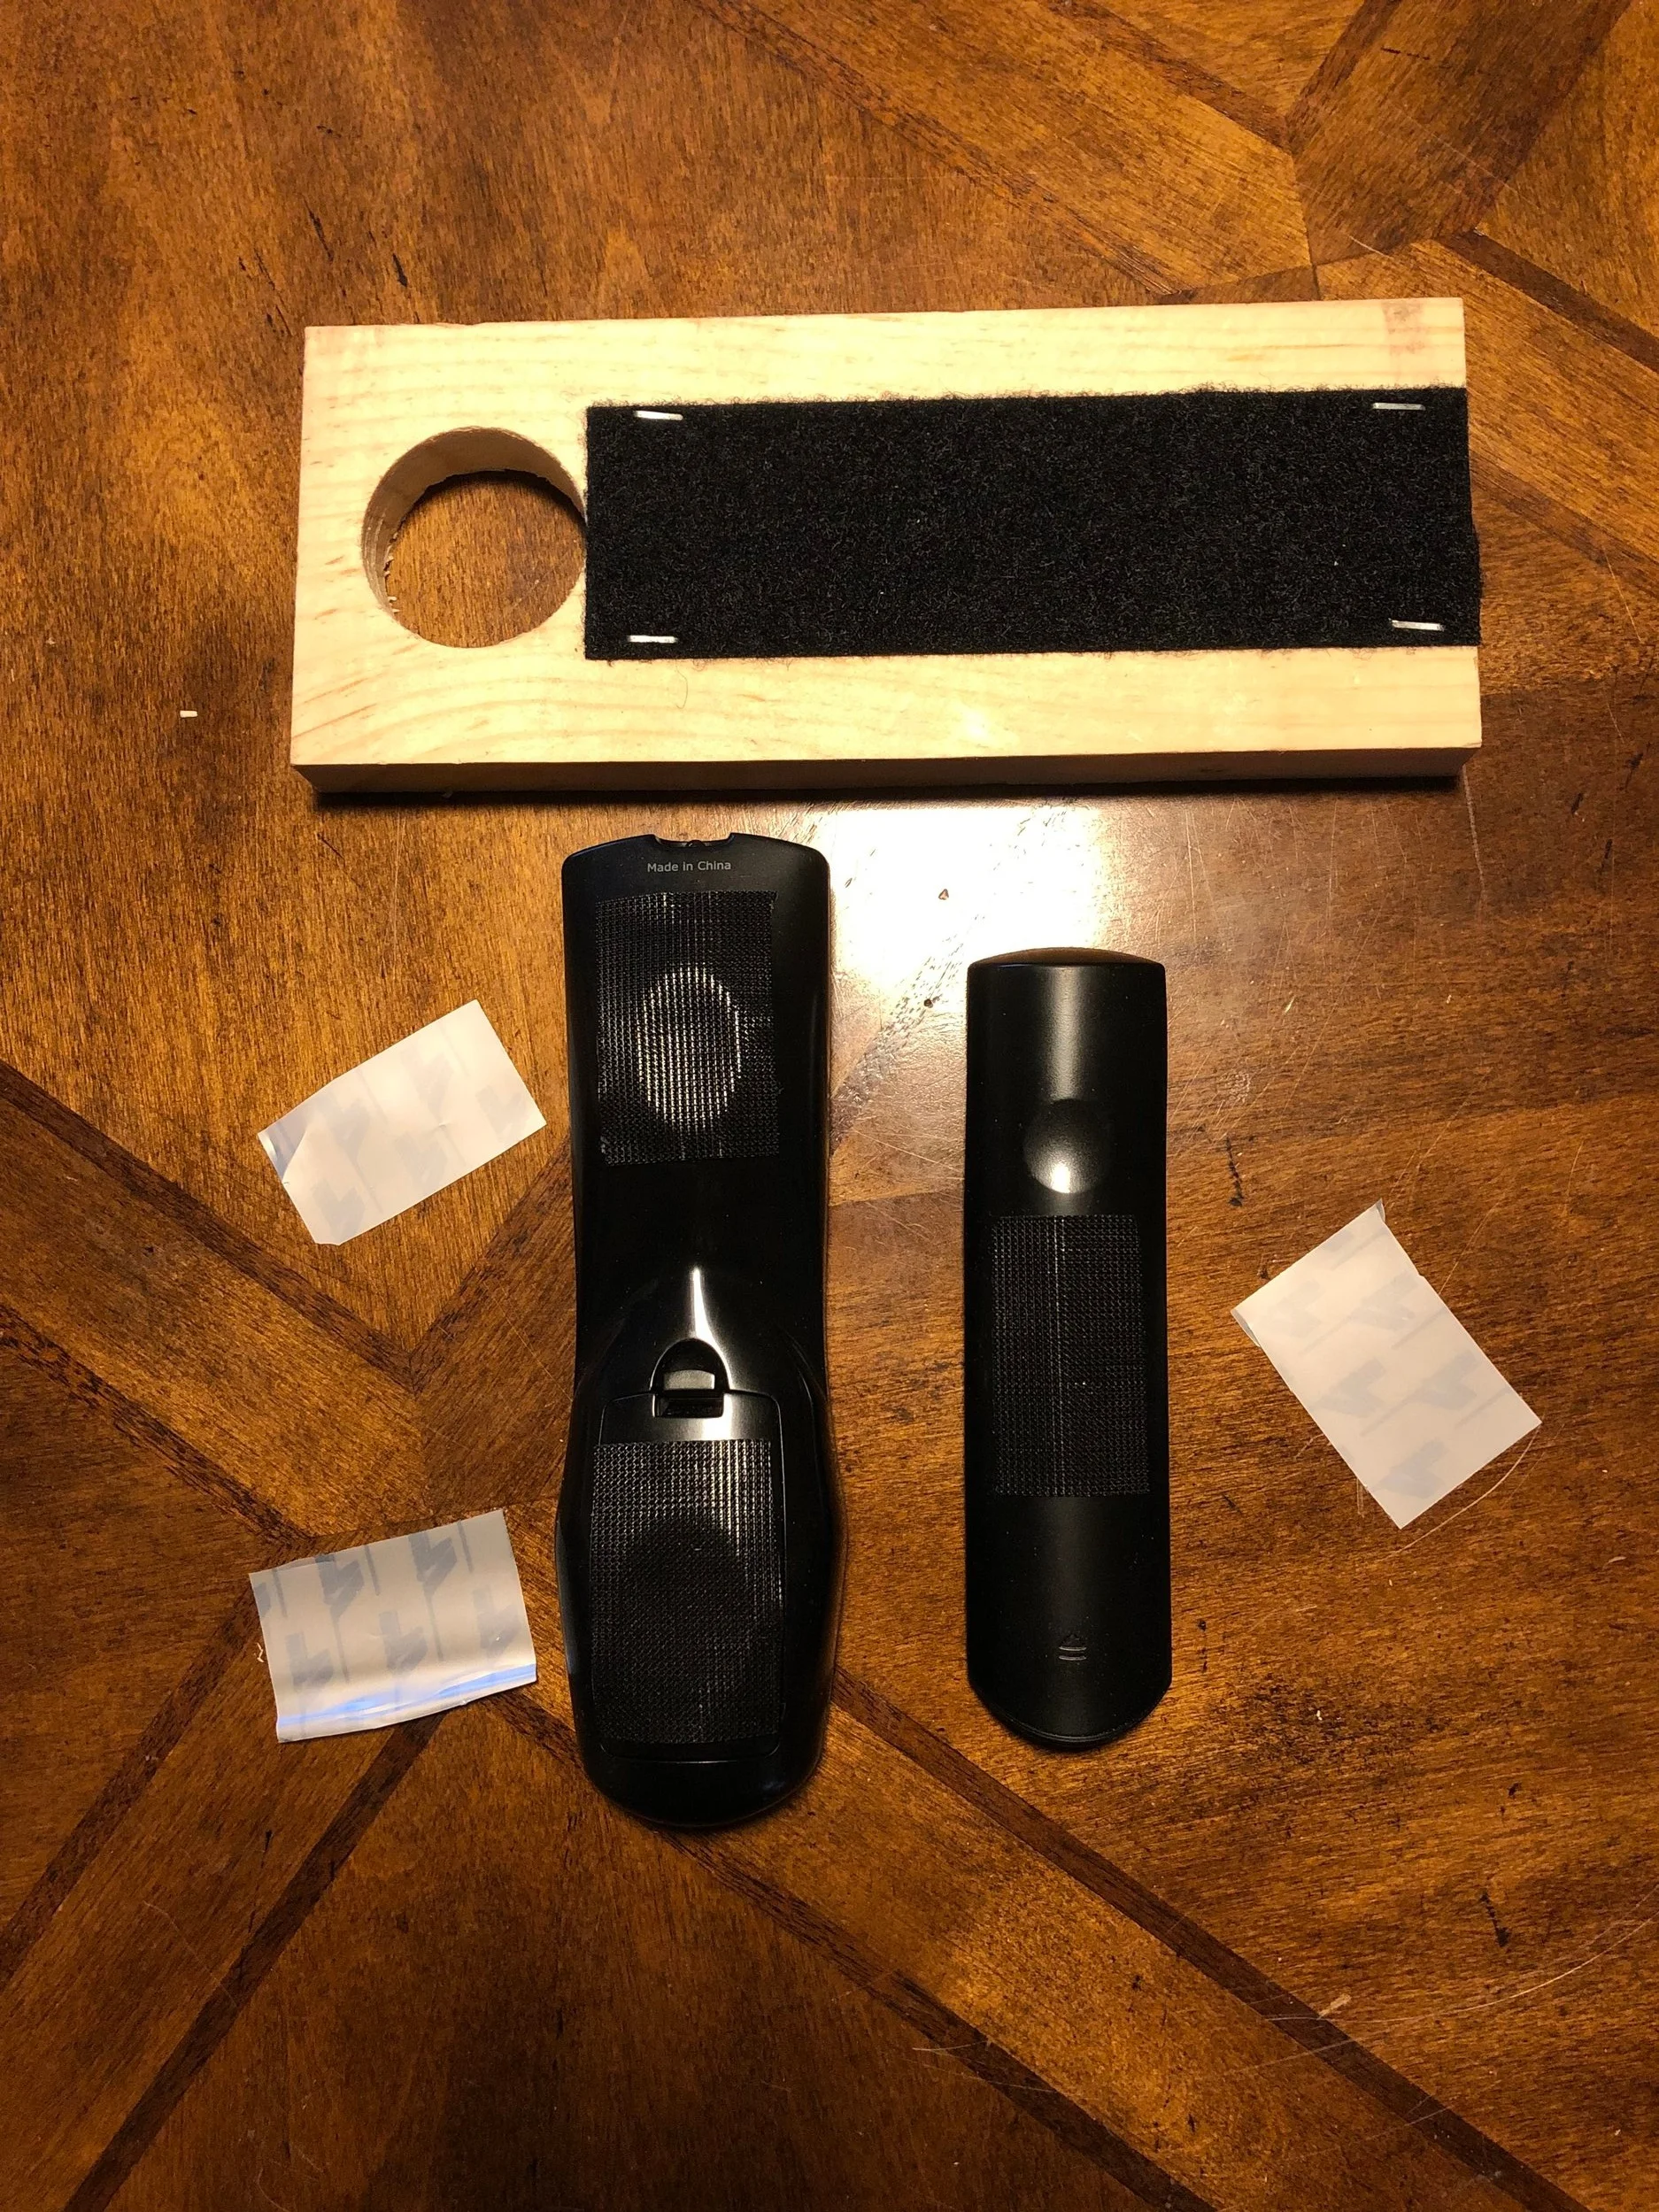
Step 4b
Attach Velcro to backs of remotes
Step 5
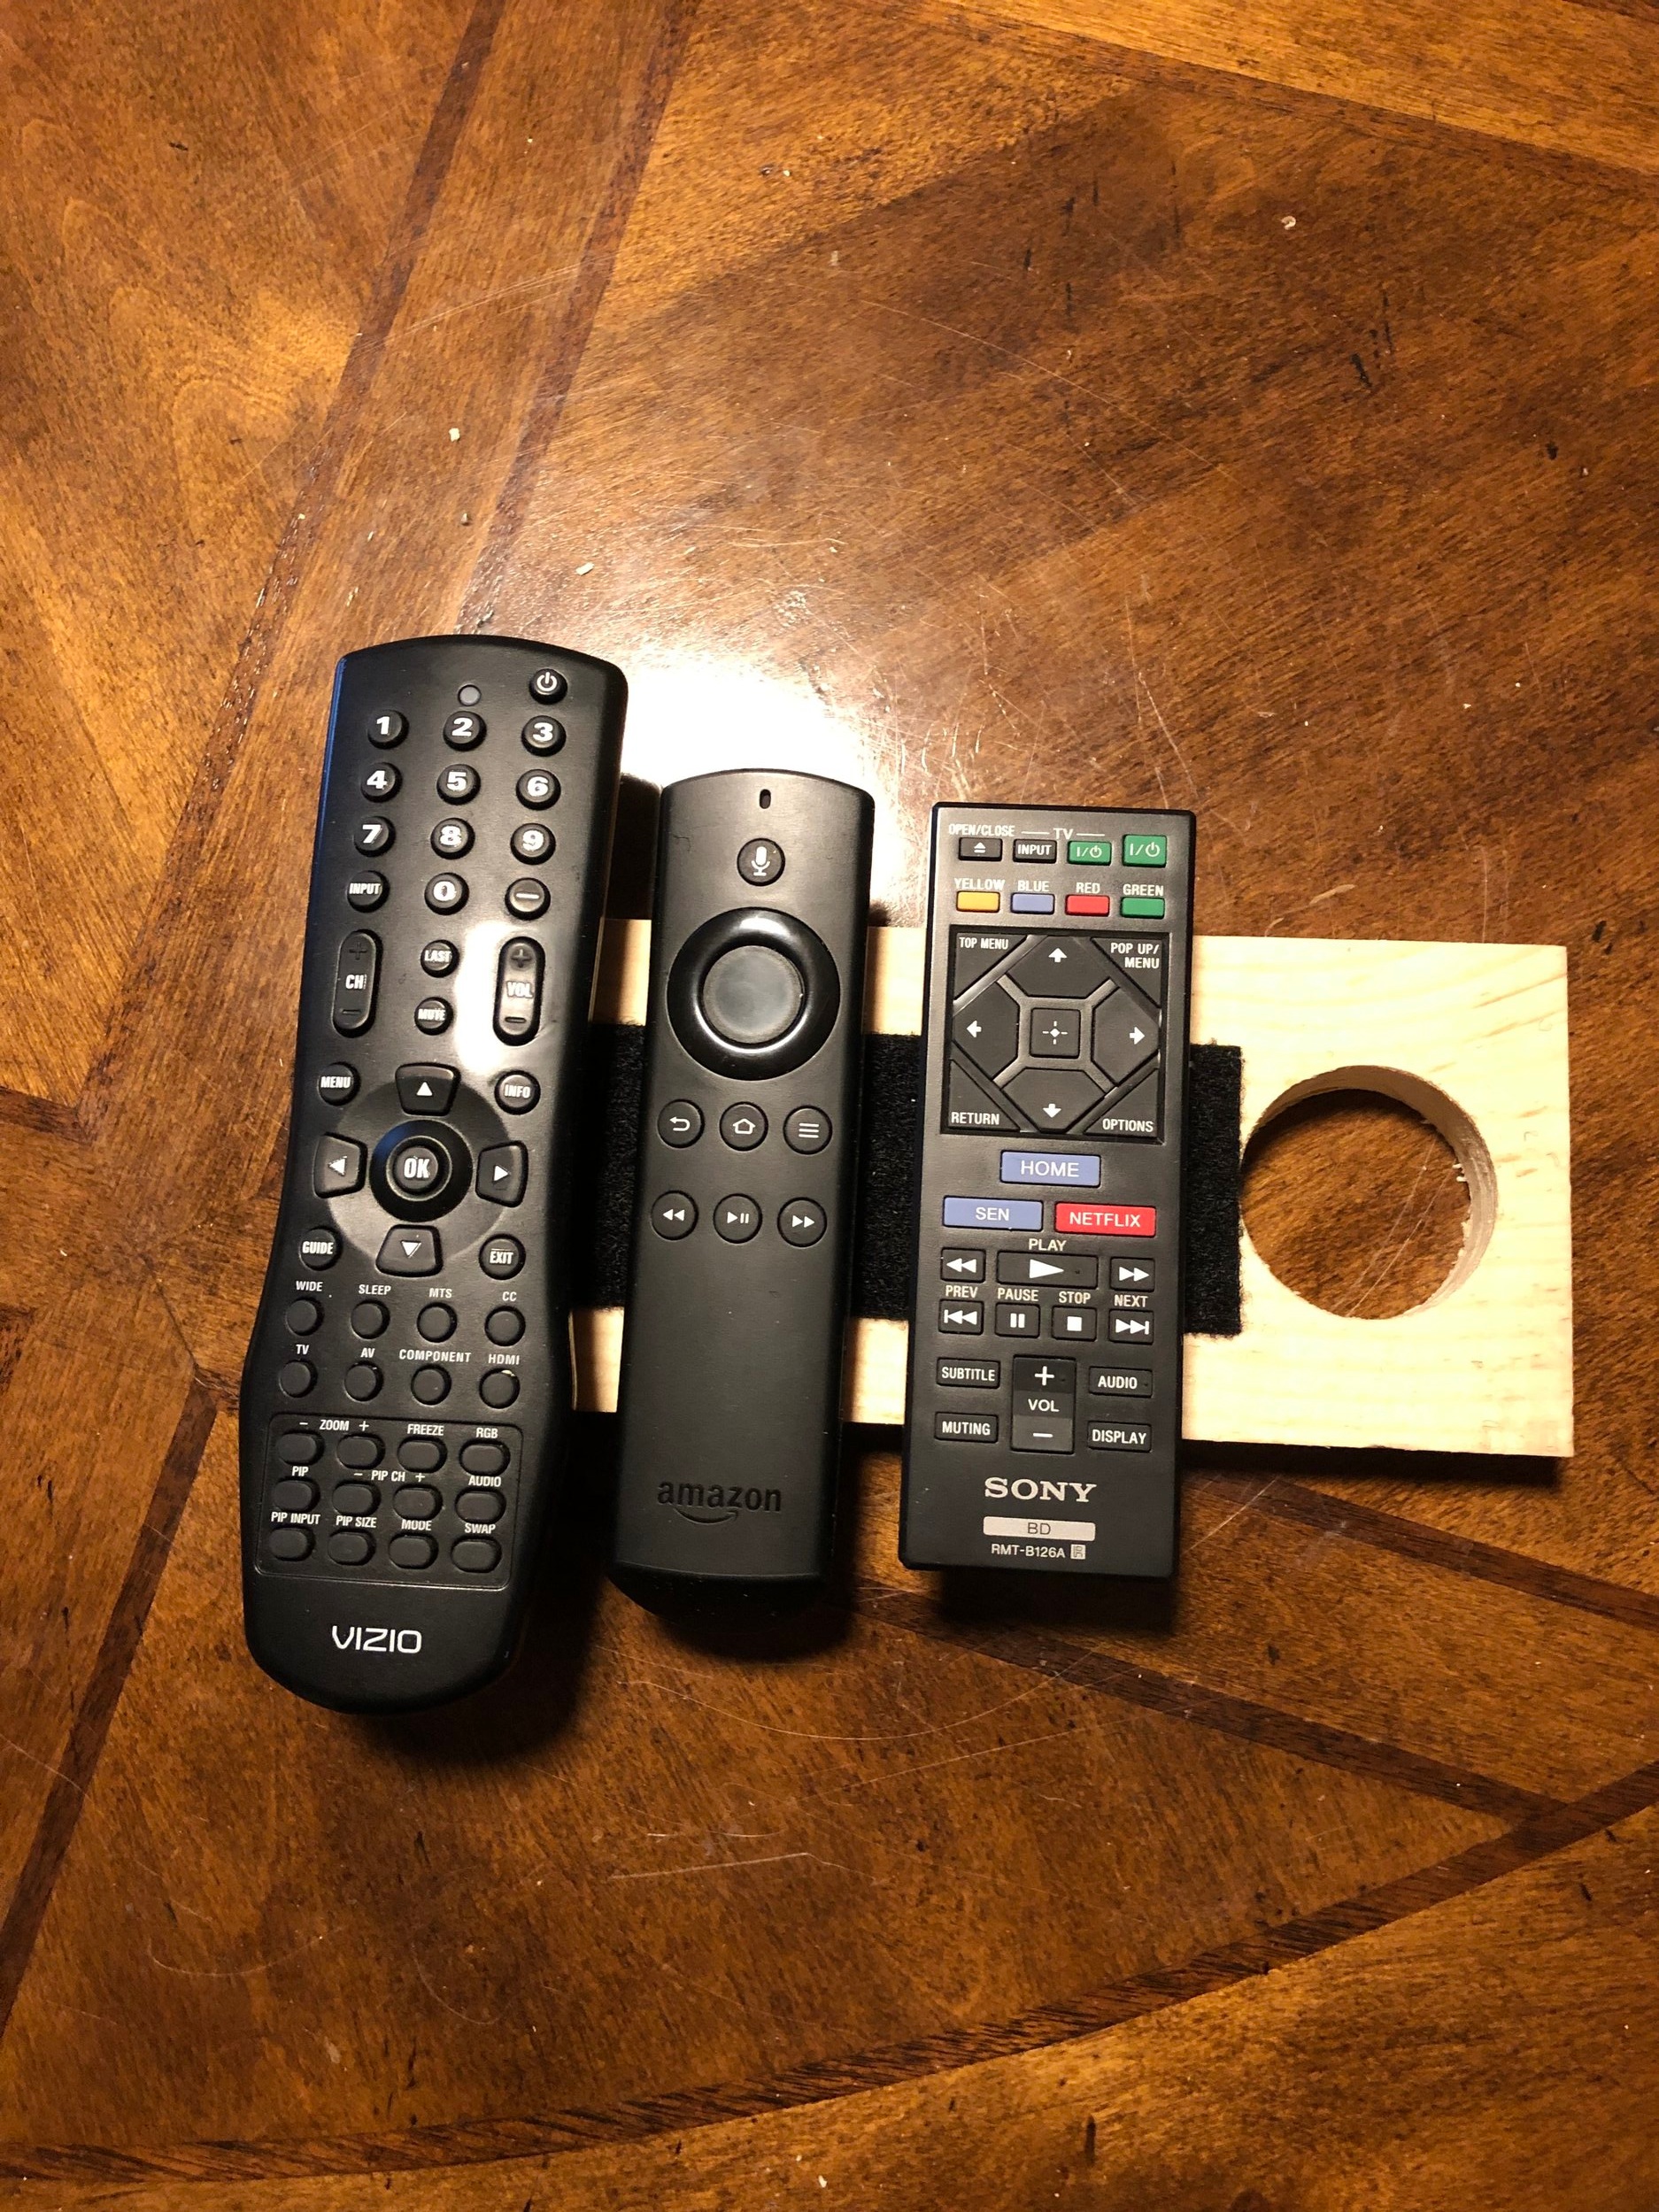
Attach remotes to board
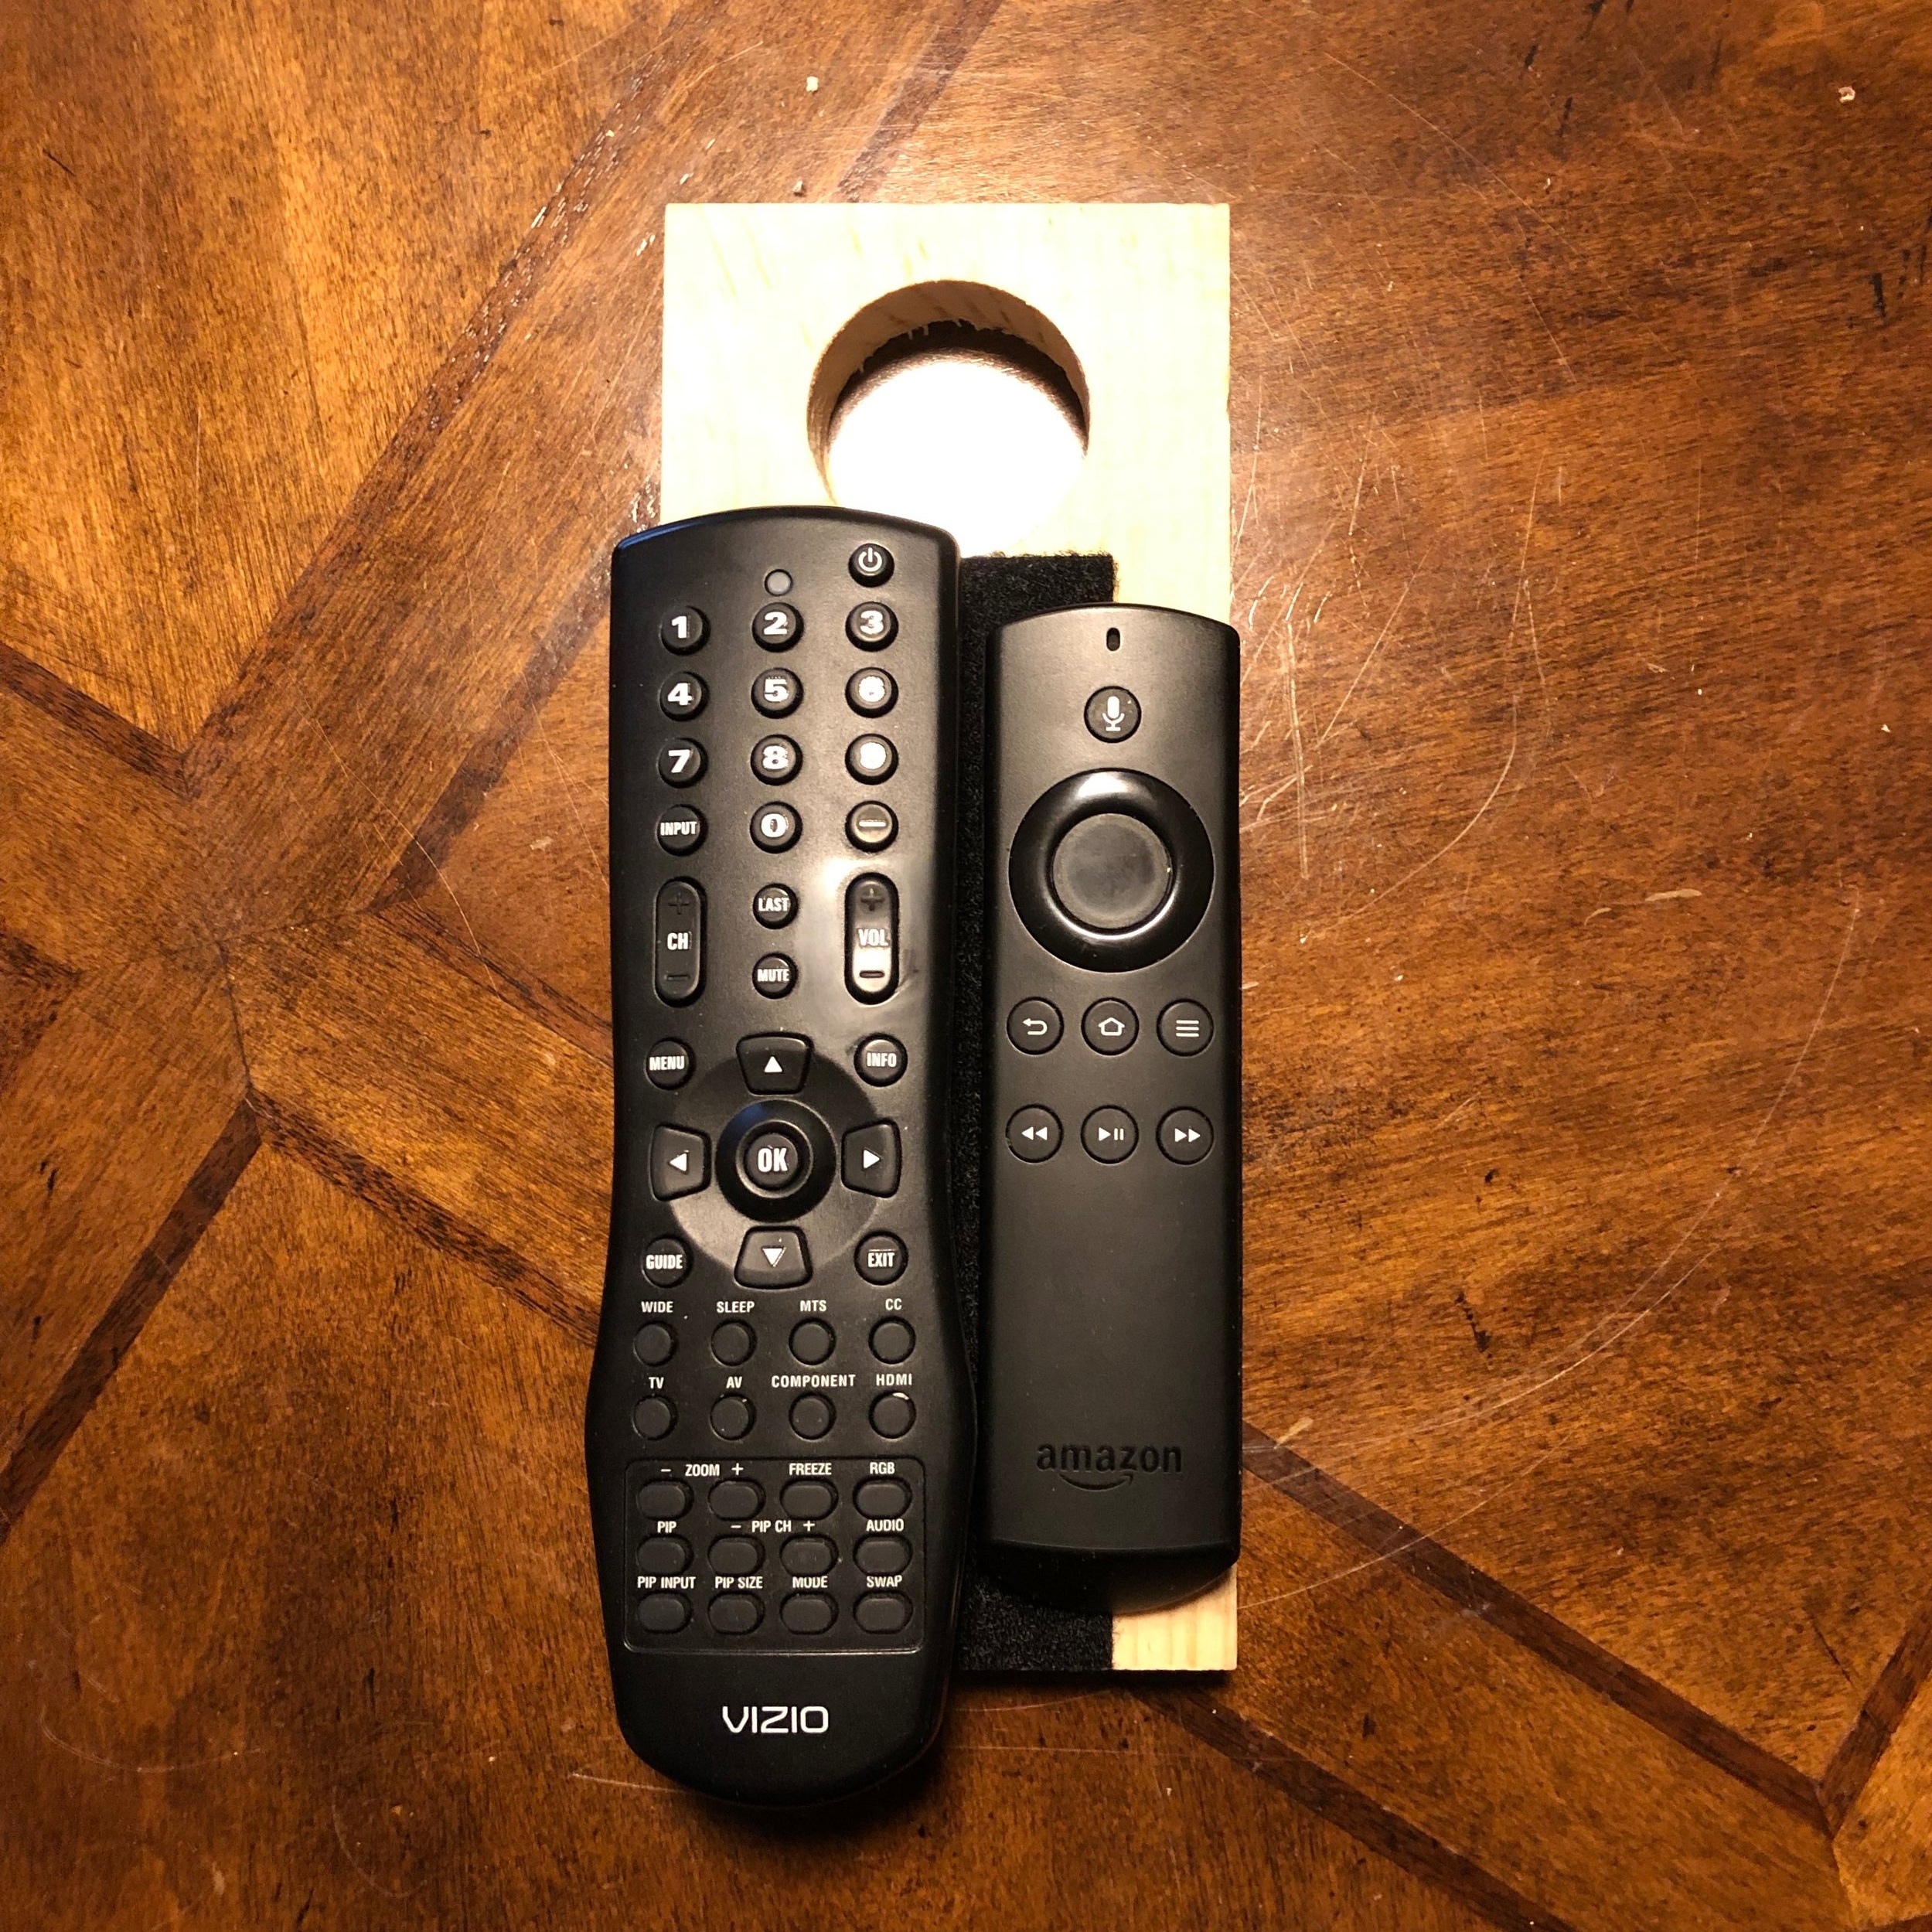
Voila! How cool is this?!
You can totally customize your board and Velcro to accommodate the remotes you have.
Sooooo….. What do you think? Are you going to try it yourself? I’d love for you to share yours when/if you make one.
Blessings!
Melissa